Guided Mode: Build a Round Brilliant
This walks through Guided Mode start to finish: a blank gem to a saved
round-brilliant.facet, using nothing but the defaults the wizard offers and
a handful of clicks on the index gear. If you haven't read
Faceting Workflow yet, the terms tier,
angle, and index wheel are explained there — this tutorial assumes you know
what they mean and shows you where to set them.
Open the Diagram Creator
Click + New in the top toolbar. Choose Guided Mode — it walks you through the girdle, pavilion, and crown one tier at a time, then hands you off to the same full tier editor Manual Mode uses.
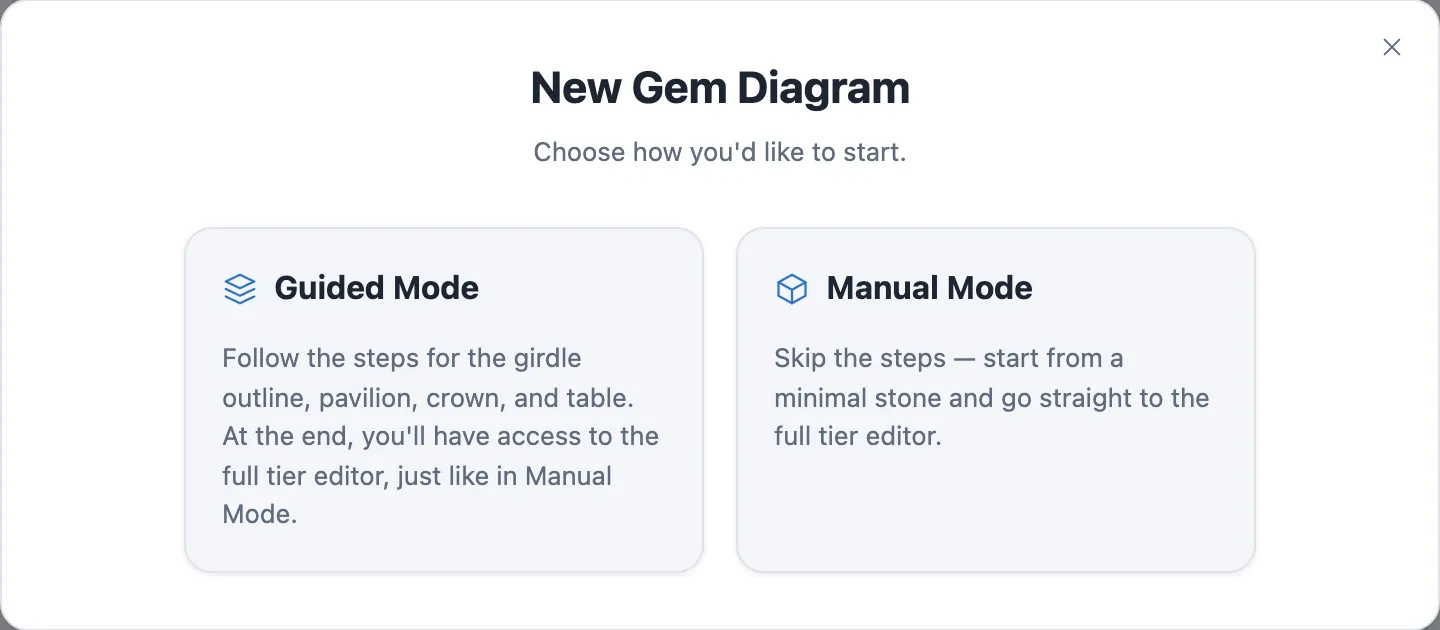
Setup: name, shape, symmetry
Setup is three short steps before the real design work starts.
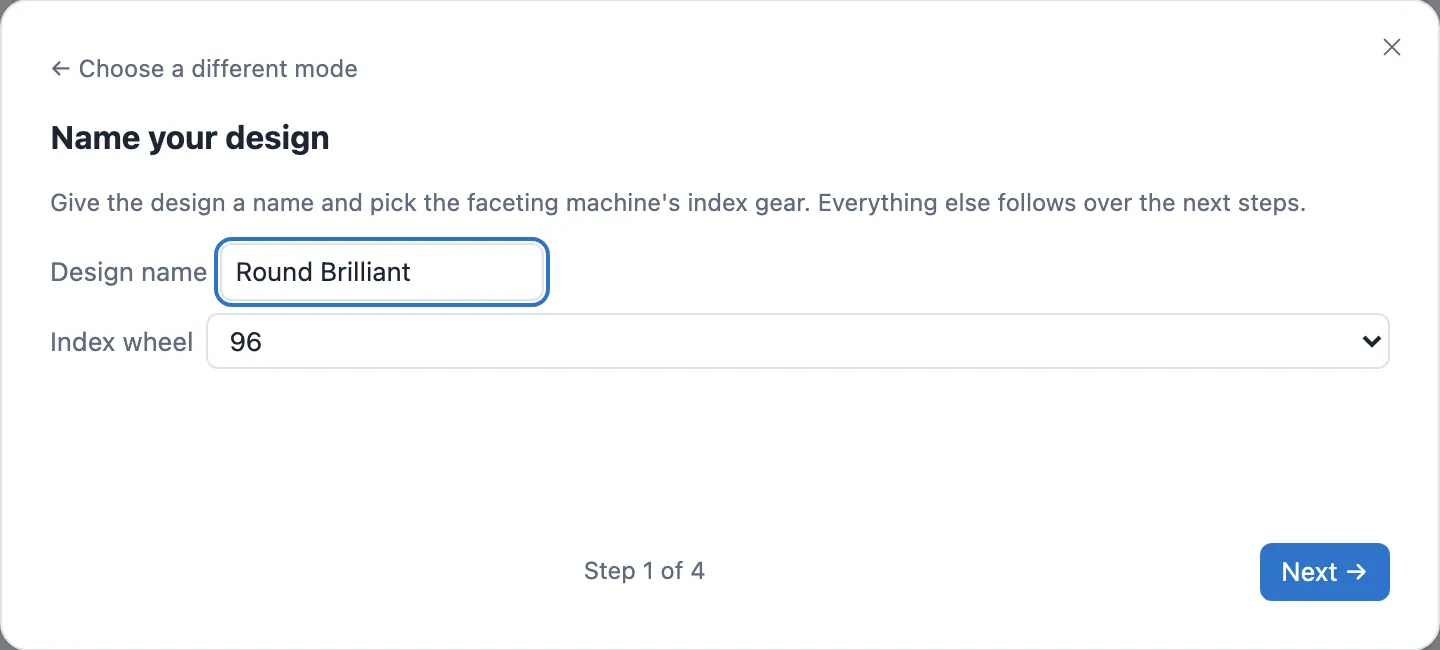
Step 1 — name and index gear. Type a name for the design — it becomes
the filename when you save, so name it Round Brilliant now and the Save
button will already suggest round-brilliant.facet later. Leave the index
wheel at its default, 96.
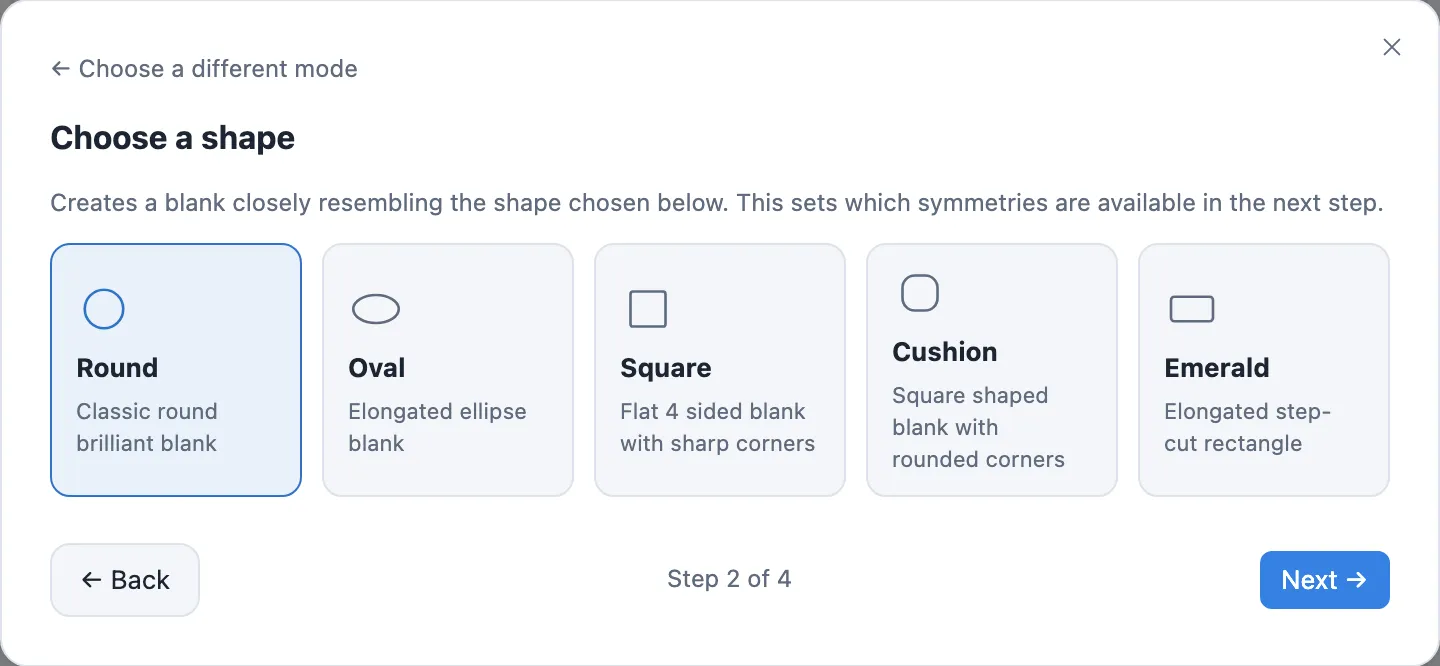
Step 2 — shape. Round is selected by default; click Next → without changing it.
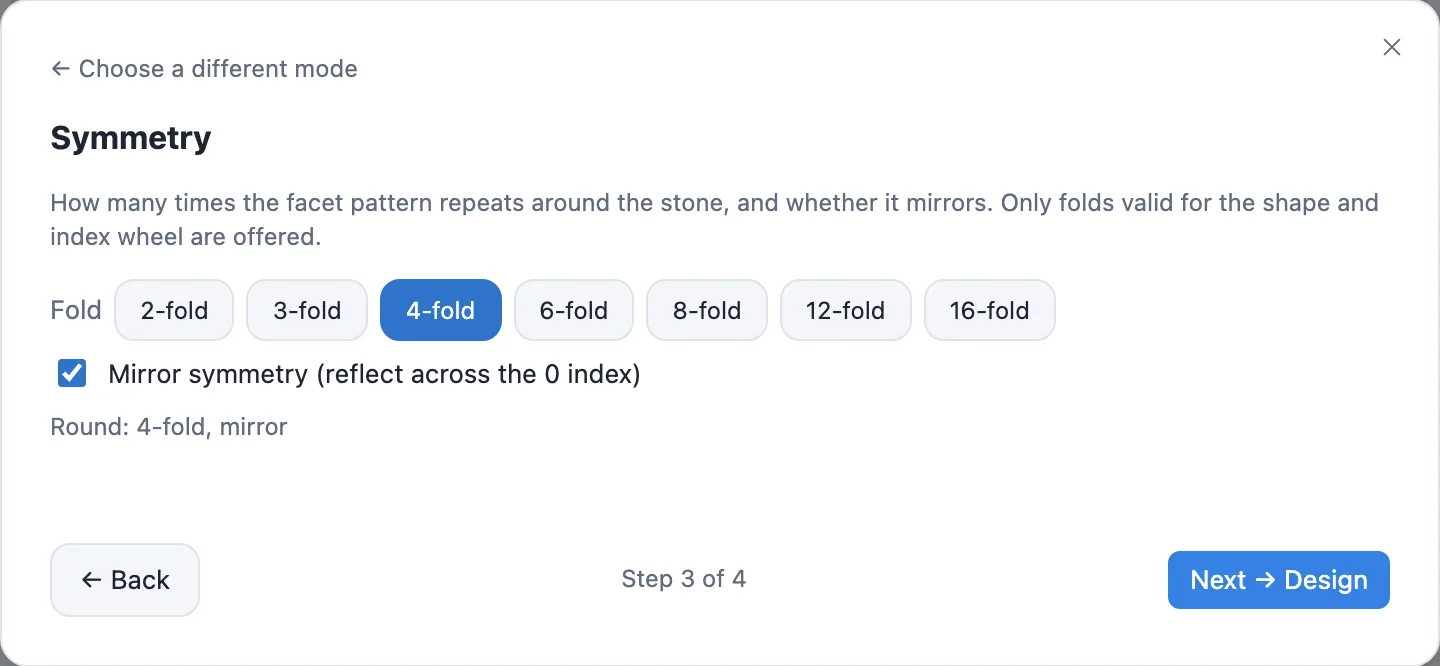
Step 3 — symmetry. Fold and mirror decide how many times the facet pattern repeats. Round's default is 4-fold, mirror — leave it as-is and click Next → Design.
Note
Fold counts rotations only; mirror reflects each one again. 4-fold + mirror behaves like 8-fold for any index that isn't sitting exactly on the mirror line — which is most of them. You'll see why that matters in a moment.
"Next → Design" navigates to a new page — the Design step lives at its own URL, not inside the dialog.
Pavilion: P1 is already seeded, P2 isn't
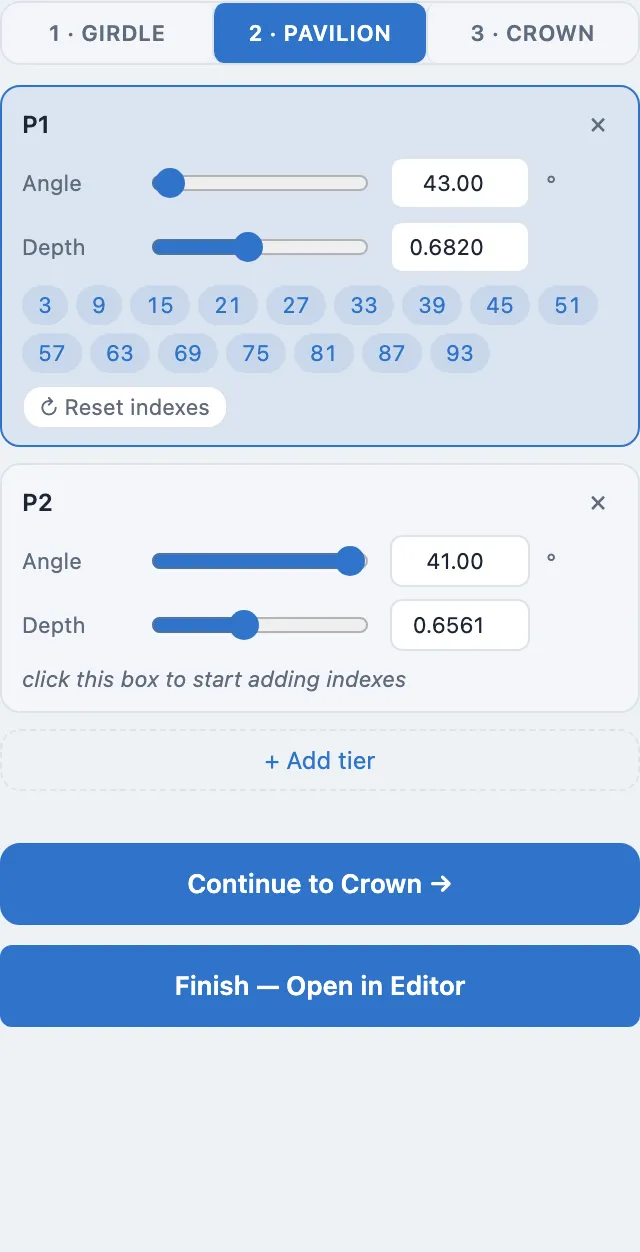
Guided Mode opens straight on the Pavilion tab. Setup already seeded one
starter tier, P1 at 43°, with 16 indices lit on the gear
(3, 9, 15, 21, 27, 33, 39, 45, 51, 57, 63, 69, 75, 81, 87, 93 — every 6th
position). P2, at 41°, is empty — its index box reads
"click this box to start adding indexes."
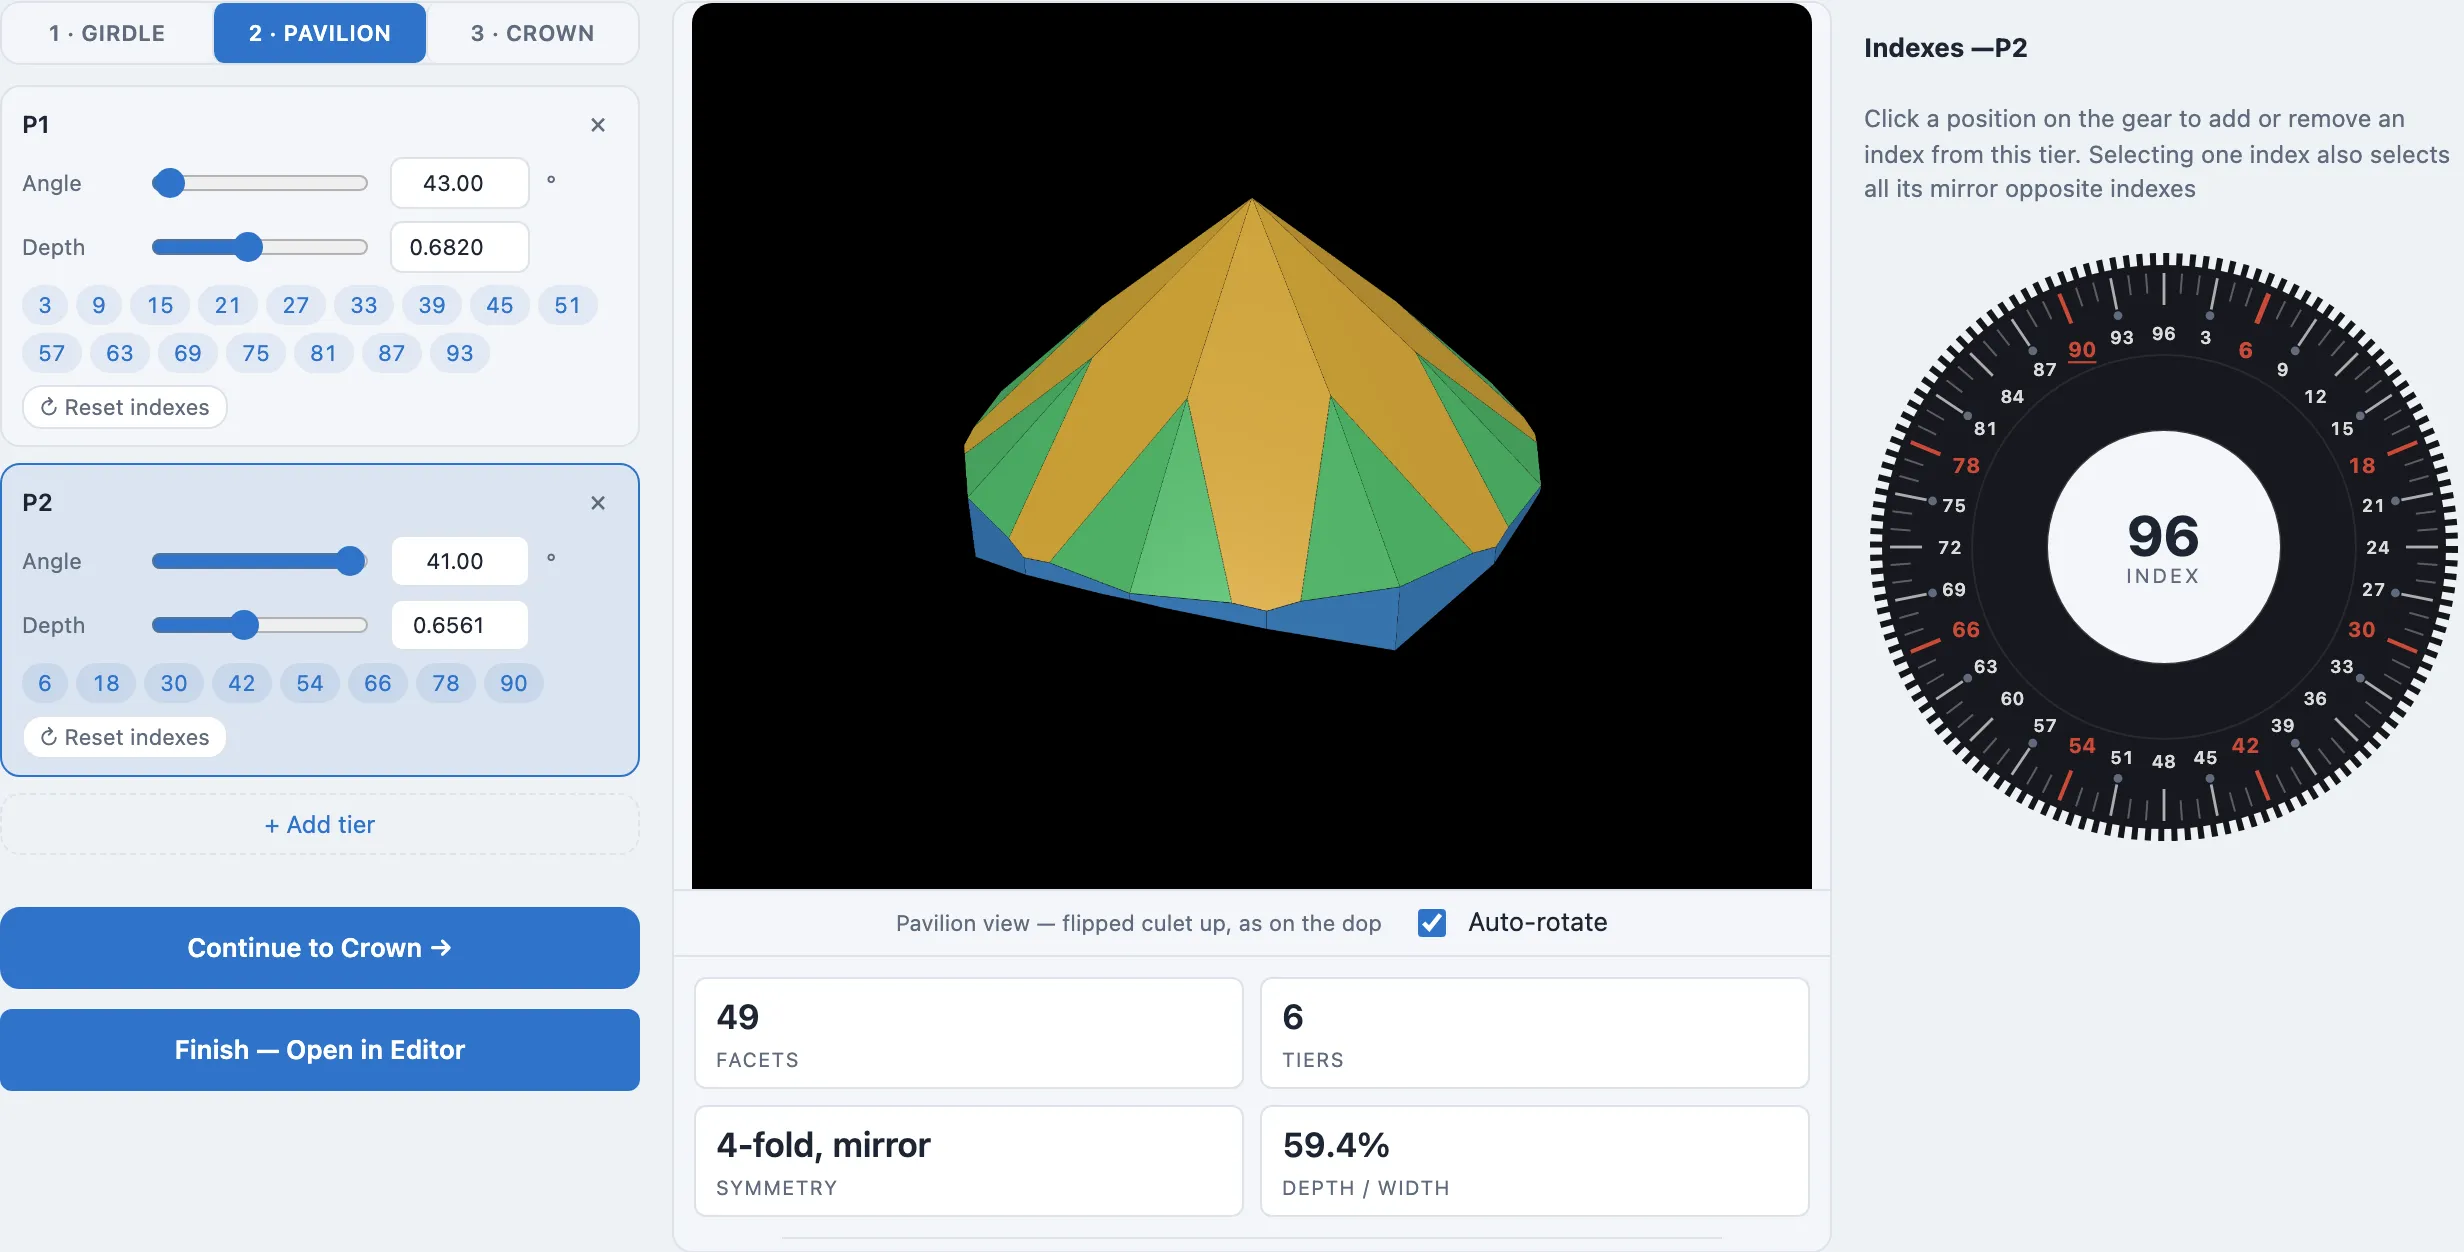
Click the P2 card to make it active, then click position 6 on the
gear. Watch the live preview: one click lights up 8 positions, not one —
6, 18, 30, 42, 54, 66, 78, 90. That's the 4-fold + mirror symmetry from
Setup expanding your single click into the full ring automatically.
Tip
The live preview updates after every click — if a facet looks wrong, you'll see it immediately rather than after Finishing the wizard.
Crown: the same move, plus one wrinkle
Click Continue to Crown →. The table-width control appears at the top of
this tab (covered in
Faceting Workflow's "The table");
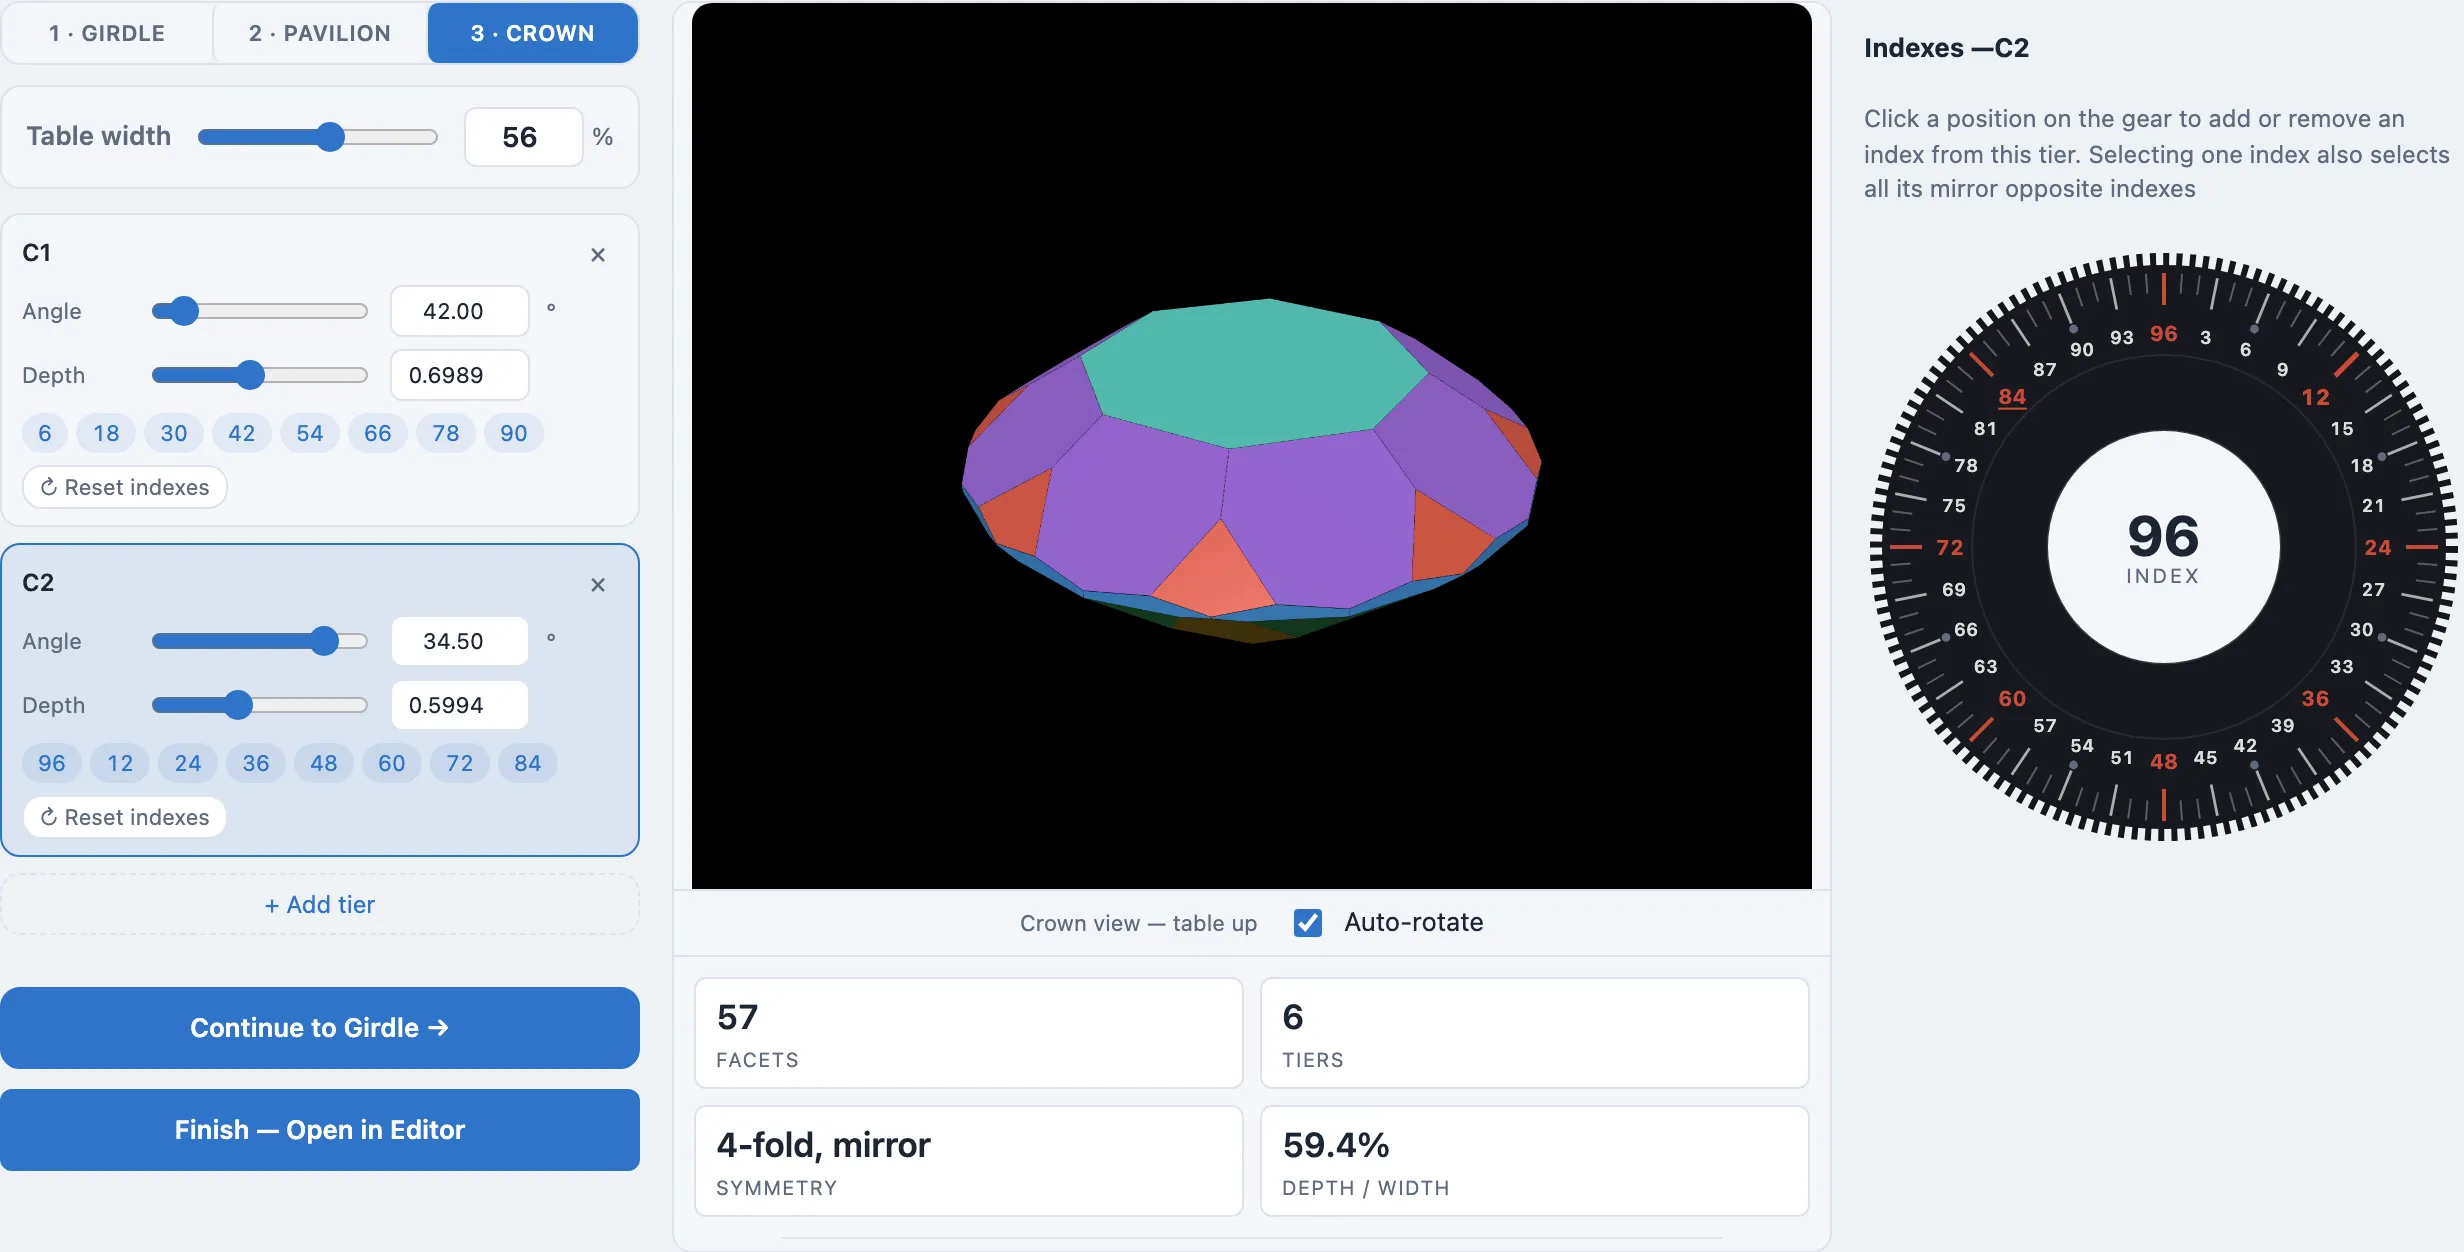
its default of 56% is fine here. C1 (42°) is active by default — click
gear position 6 again, same as P2, so the crown mains land directly
above the pavilion mains. That's 8 indices, same set as P2:
6, 18, 30, 42, 54, 66, 78, 90.
C2 (34.5°, the star facets) is where the wrinkle shows up. Click the
C2 card, then click gear position 0. Only 4 positions light up —
0(96), 24, 48, 72, not 8. Position 0 sits exactly on the symmetry's mirror
line, so mirroring it lands back on itself instead of adding new points.
Click position 12 as well — it sits on the other mirror line — and the
two clicks together fill in the missing 4, for the full 8-point star pattern:
0(96), 12, 24, 36, 48, 60, 72, 84.
Note
This isn't a quirk you need to memorize — it's just what happens when a click lands exactly on an axis of symmetry instead of a generic position. If a tier looks sparser than you expect, click one more position next to the one you just placed.
Girdle: already done
Click Continue to Girdle →. Nothing to do here — Setup seeded one girdle tier with the same 16-position pattern as P1, and the stats confirm it: 1 girdle tier, 16 girdle facets, 2% thickness (of the stone's diameter).
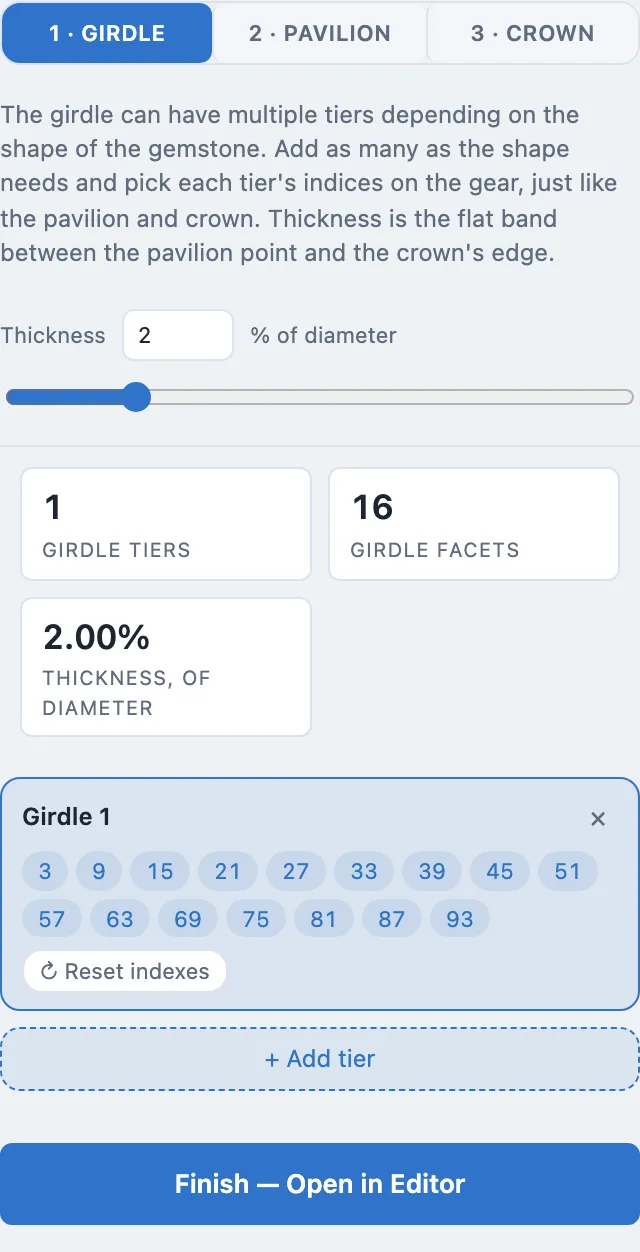
At this point the live stats panel reads 57 facets, 6 tiers, 4-fold mirror symmetry, 59.4% depth/width — a complete, closed stone.
Finish, then Save
Click Finish — Open in Editor. You land in the main editor with the stone already loaded and rendered.
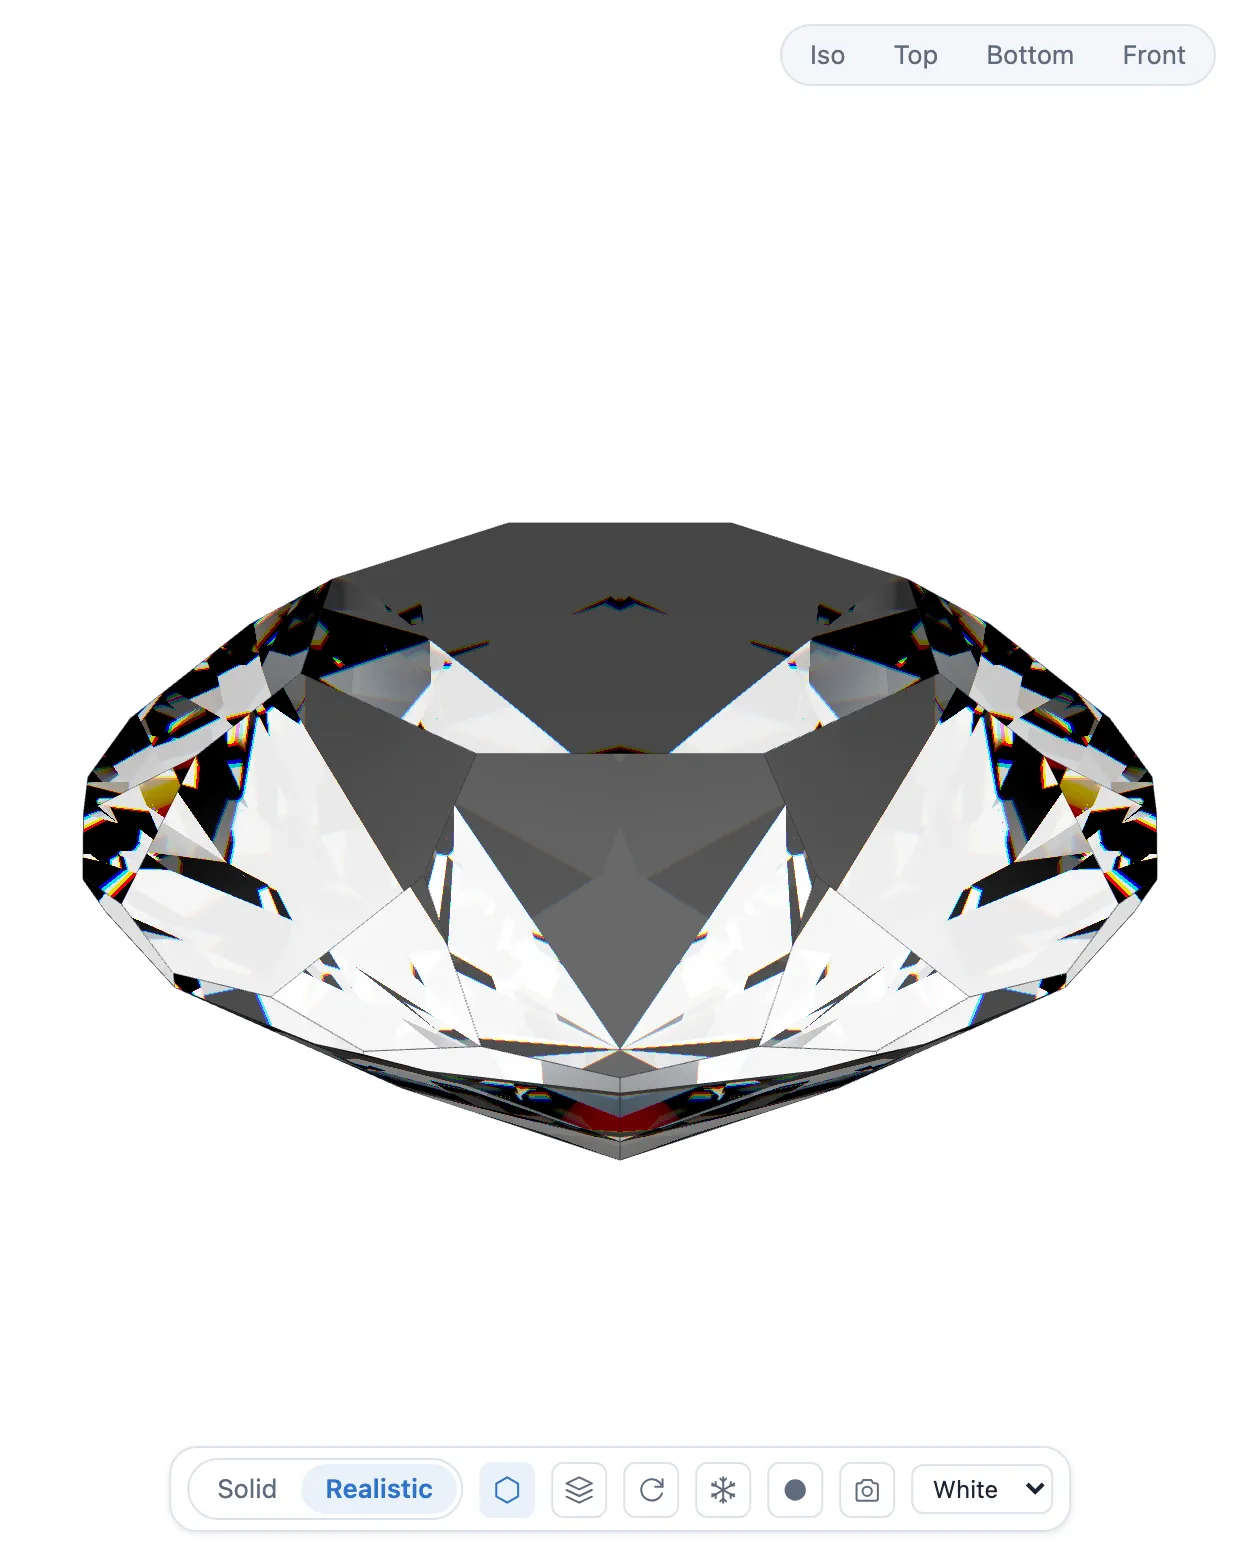
The design name field in the top toolbar already reads "Round Brilliant" — it's the name you typed in Setup step 1. Click Save.

Note
Save lowercases the name and replaces spaces with hyphens to build the
filename — "Round Brilliant" becomes round-brilliant.facet. Rename
the design at any time before saving (here, or back in Setup step 1) to
change what file you get.
You should see round-brilliant.facet land in your downloads. That file is
a complete, self-contained design — open it later from Open in the same
toolbar, or hand it to the Cutting Assistant when you're ready to cut it.