Manual Mode: Build a Round Brilliant
Guided Mode walks you through a stone tab by tab and tier by tier. Manual Mode skips straight to the same tier editor with a minimal blank stone already loaded — no wizard, no gear to click. Indices are typed in directly as plain numbers, and nothing expands them for you. This tutorial builds the exact same design the Faceting Workflow article describes — pavilion mains and breaks, crown mains and breaks, stars, a table — entirely by typing four values per tier.
Open the Diagram Creator
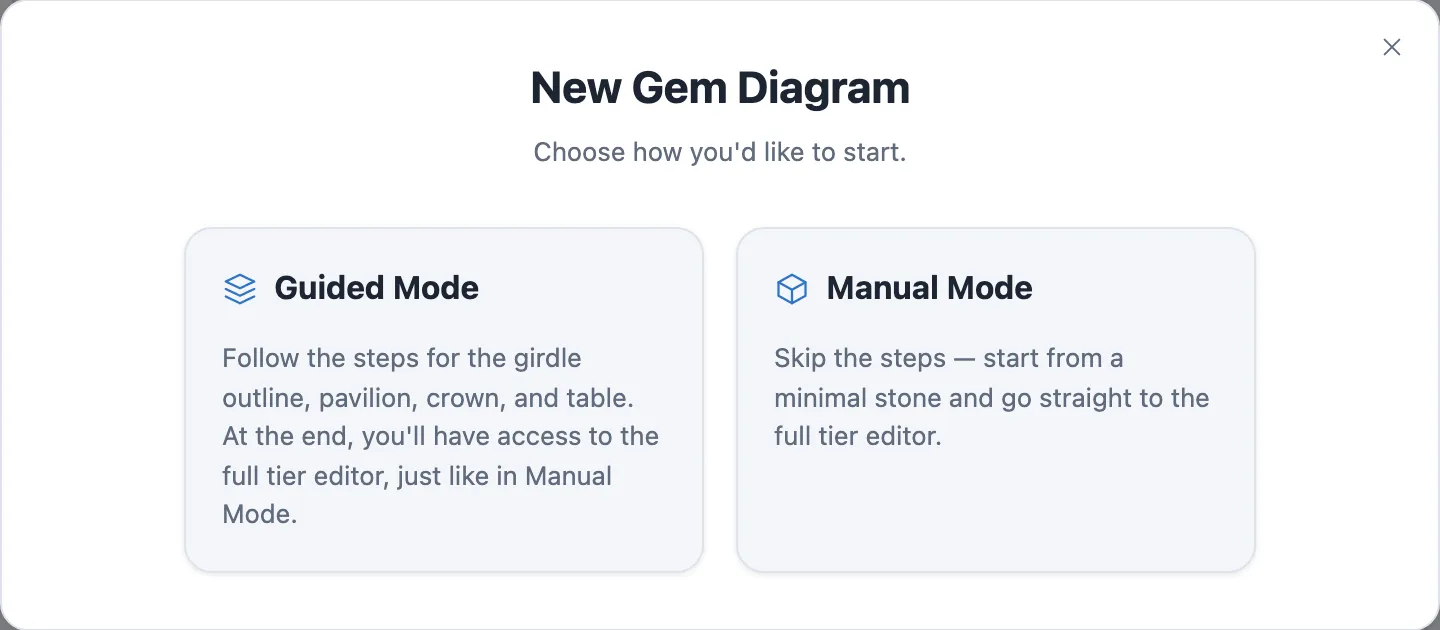
Click + New, then Manual Mode. There's no Setup wizard — clicking it hands you straight to the editor with a small starter stone already loaded.
The blank seed
The editor opens with three tiers already in the Build panel's FACETS list: a Girdle (90°), one Pavilion tier (41°), and a flat Table (0°). That's a complete, valid stone on its own — just a plain cone from girdle to a point, capped by a table. Everything else, you add by hand.
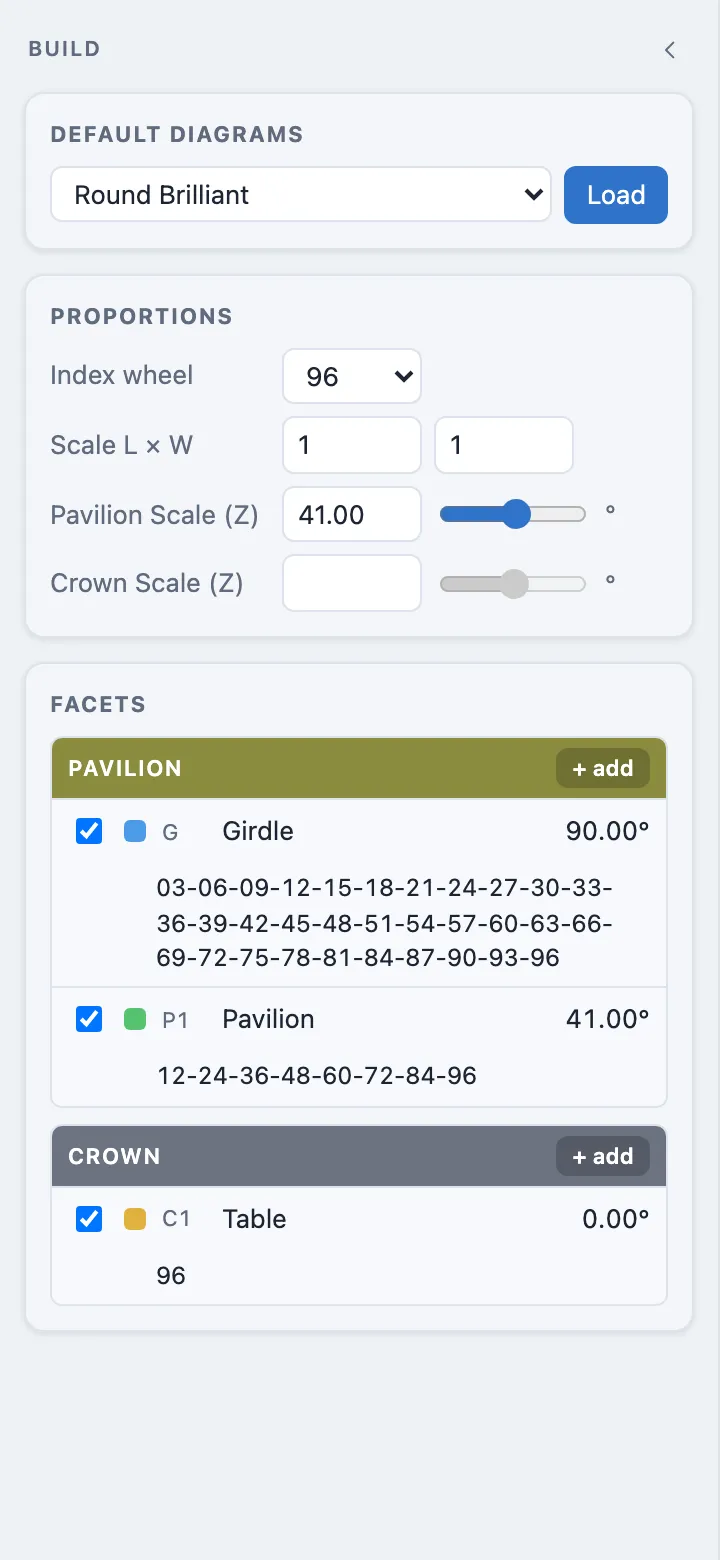
Each band's + add button is how you add a tier to that side: the Pavilion band's button adds a pavilion tier, the Crown band's adds a crown tier. Click any collapsed row to expand it and reveal its angle, distance, and indices fields — that row stays expanded until you collapse it or expand a different one.
Note
A new tier is auto-expanded the moment you add it, so you can start typing right away — no extra click needed to open it.
Add the pavilion breaks
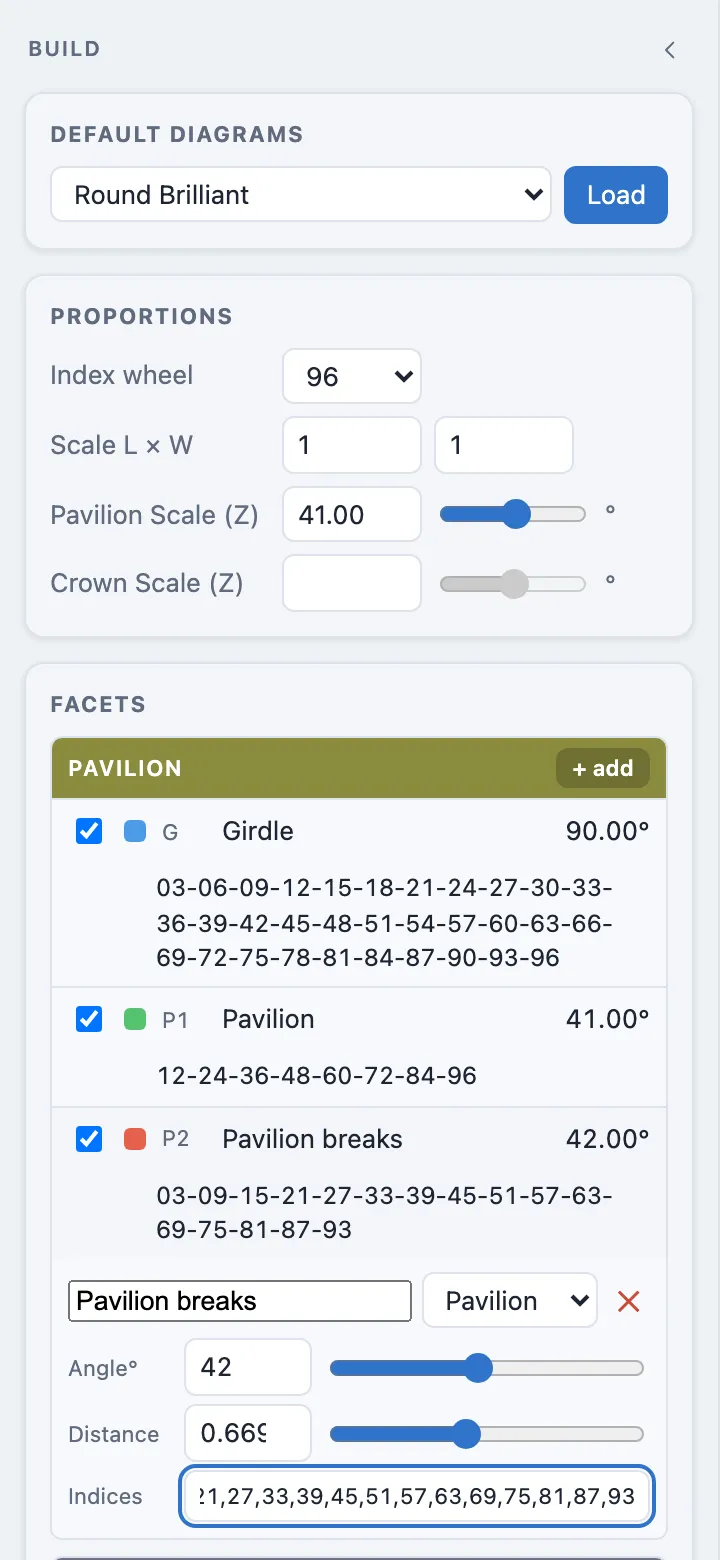
The seeded Pavilion tier (41°) is already the design's pavilion mains — it matches Faceting Workflow's numbers exactly. Click + add under Pavilion to add the breaks tier, then fill in its row:
- Angle:
42 - Distance:
0.6691 - Indices:
3,9,15,21,27,33,39,45,51,57,63,69,75,81,87,93
Tip
Distance isn't arbitrary — it's sin(angle) for a pavilion tier anchored at
the girdle, the same formula
Faceting Workflow's "Cut distance"
derives it from. If you skip typing a distance, the tier still renders (the
editor doesn't require it to match the angle), but the facet plane won't
sit flush with its neighbors — watch the 3D preview for a gap.
Note
Notice the new tier briefly shows as P2, below the original P1, even though 42° is steeper than 41°. Labels (P1, P2, C1…) are only reassigned the next time the full tier list re-renders — adding another tier triggers that. They'll resort correctly once the crown tiers go in below.
Add the crown: mains, breaks, stars
Click + add under Crown three times, filling in each new row as you go:
| Name | Angle | Distance | Indices |
|---|---|---|---|
| Crown mains | 34.5 |
0.6159 |
96,12,24,36,48,60,72,84 |
| Crown breaks | 42 |
0.7137 |
3,9,15,21,27,33,39,45,51,57,63,69,75,81,87,93 |
| Stars | 20 |
0.5349 |
6,18,30,42,54,66,78,90 |
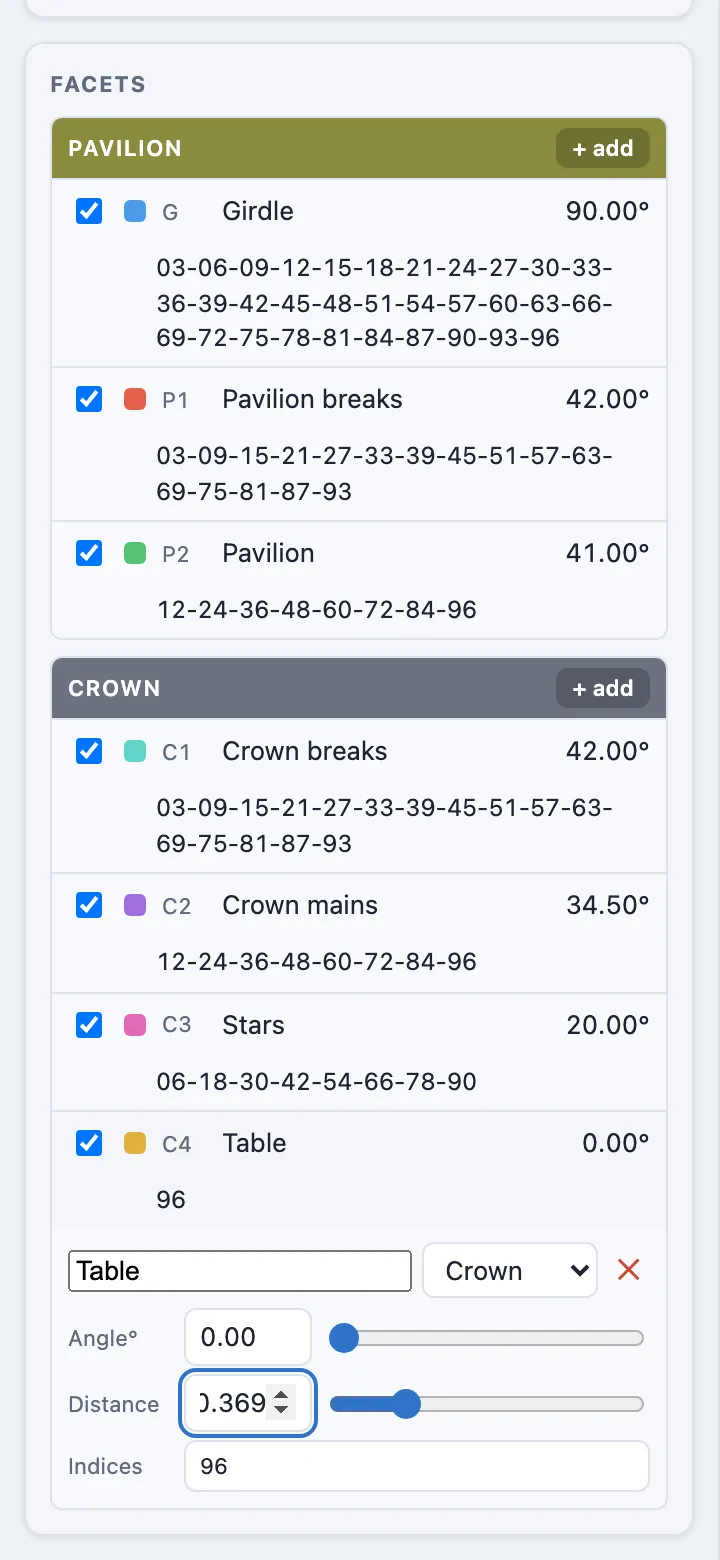
The seeded Table tier is still there at the bottom of the Crown band — leave its angle and indices alone, you'll fix its distance next.
Fix the table distance
The blank seed's table sits at distance 0.4 — close enough to look right,
but not the value Faceting Workflow's "The table"
describes for a 56%-wide table on this pavilion. Expand the Table row and
set Distance to 0.369. Nothing else on that row changes — angle stays
0, indices stay a single 96.
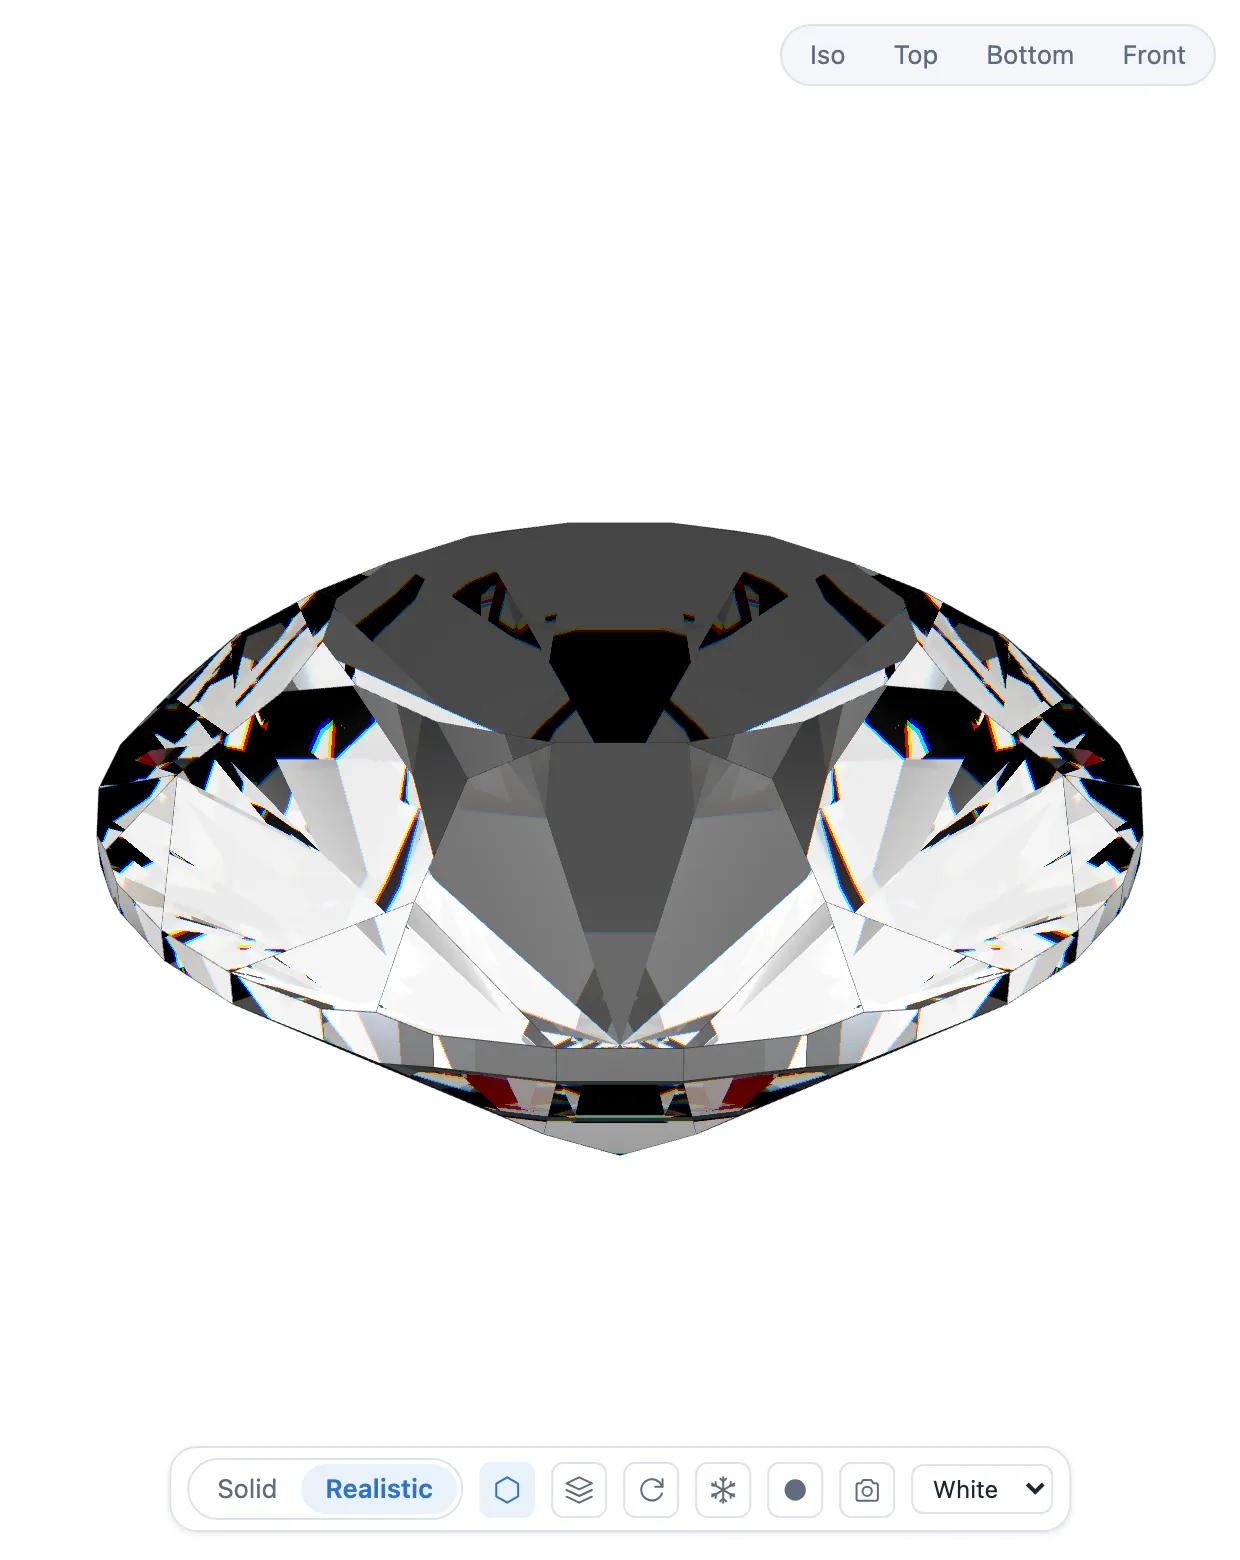
At this point the status bar should read 89 facets, roughly 62% depth/width — a complete round brilliant, seven tiers, built entirely by typing numbers into the same four fields, repeated.
Rename and Save
Manual Mode's starter stone is named "Untitled Design" — there was no Setup
step to name it earlier. Click into the design name field in the top
toolbar and type Round Brilliant, then click Save.

You should see round-brilliant.facet land in your downloads — the same
filename Guided Mode's walkthrough
produces, this time built tier by tier with exact, named values instead of
gear clicks.